Monday, February 20, 2012

Reno project chapter 4 and some more work on the current painting..

This compass design, adapted from an old map image has kept me busy at the cottage the last couple of weeks. It's handy to the little upper deck  looking out on the Bay where we can see the lobster and scallop boats coming and going. The biggest part of the job was getting rid of the plasticy varnish finish on the hardwood floor, in the circle and the diamonds. That stuff is thick and hard as nails. Using an electric sander just gums up the sandpaper in no time. Next I tried an environmentally friendly stripper, which was supposed to work in less than an hour, but 3 hours later had done nothing. Finally I went at it with a couple of paint scrapers which I sharpened countless times. At last the bare wood appeared and was ready for sanding and staining. Next came the design, based on concentric circles using a stick with holes drilled in it. A nail goes through the hole which will be the center, and a pencil lead goes through the other holes.
    This is the area I have been working on to make a playroom for our summer cottage rental kids, and also I'm looking forward to a visit from the western grandchildren come fall.
Lovely little sisters, can't wait to see them.
So here is the new whitewashed t&g v-groove ceiling over the kitchen, finished except for doing a spot of white paint on the bottom of the joist hangers.
I'm really really happy with it. The top side of this is the rest of the playroom floor, yet to be sanded, stained to match the background of the compass, and varathaned a number of times. This has been a satisfying winter project, although it's been hard to get anything else done.
Like this watercolor that has been hanging on and on. Since the last post I have tightened it up some, mostly darkening the darks to create more contrast. I'm not sure if it's finished or not, wondering if I should re-paint the tractor in red or green (?) for more visual impact. That blue t-shirt kid 4th from left on the load, who was me, remembers clearly it was a gray tractor... I call this "Farmer's Heyday".

Thursday, February 9, 2012

Reno project chapter 3 and a bit of painting

Here's my new best friends, an electrician and a builder, arriving today. Young people with good backs who can wrestle those floor joists into place that I was preparing 2 and 3 posts back.
Here's Misty organising some pot lights upstairs. Electricity and all its hidden wires is a complete mystery to me. When Ben gets the new ceiling in over the kitchen, she will install a couple of track lights down there.

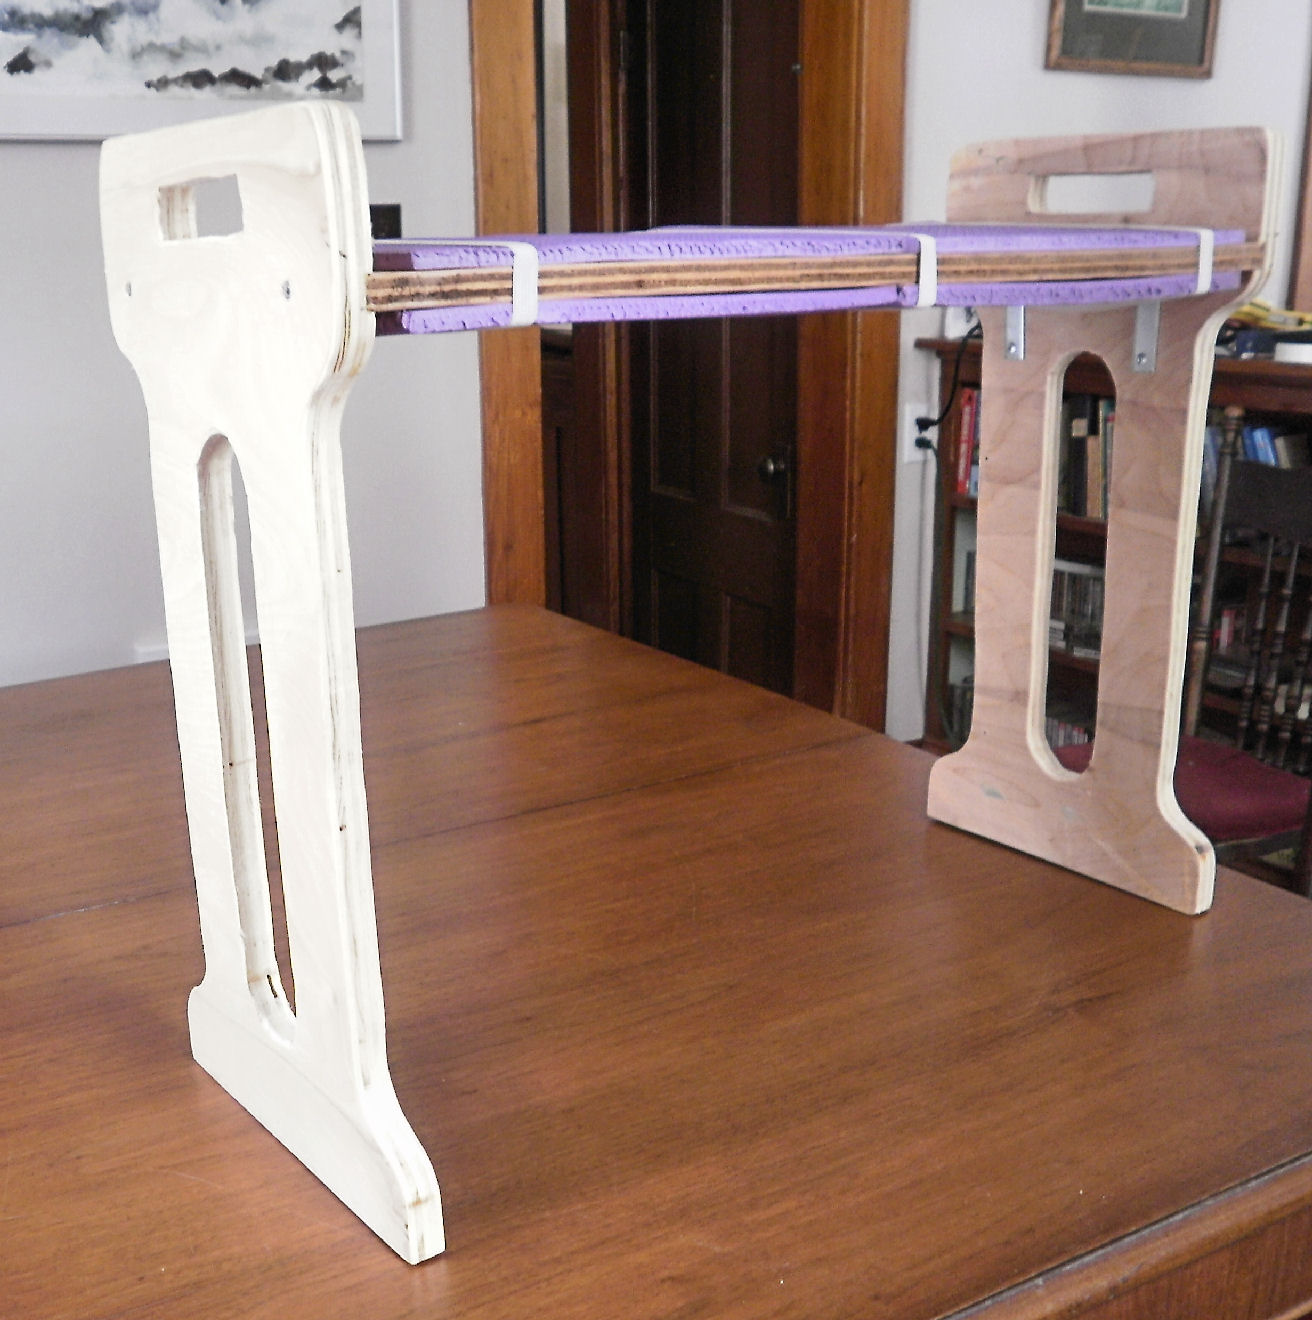
Most of the joists are up, tomorrow I'll be excited to see the T&G floor/ceiling go on and the railing come out.
It's been hard to get any pictures painted with all this other stuff going on. Here is an old photo I thought I'd use as a reference for a watercolor.
1958, Canning , Nova Scotia, what a wonderful carefree time to have a childhood...nowadays those kids would have hemets on and safety harnesses... or more likely be on the couch in front of a screen. The 4th kid from the left is me at age 8. At another farm closer to home, I was usually the only kid around at haying time and I got to drive the tractor as the men forked up the hay and built the load.
I stretched a piece of watercolor paper, did my pencil drawing and washed in some sky, blotting out clouds with a tissue. I dabbed on bits of masking fluid here and there to protect areas I wanted to keep white as sun highlights, and most of the rest got a warm yellow ochre wash.
Next I made up some background, painting  each section more bluish towards the horizon to make the landscape recede. The tractor is going to be gray so I wet the area plus anything else that will be dark with plain water, and then dab in watery colors that will blend on their own to make a neutral gray, cobalt blue, aureolin, and rose madder. I left this alone knowing it would dry lighter .
 With a damp brush I loosened the color in the spots where the sun would make a highlight and blotted off most of the color with a tissue. Then came some darks for the underneath layers of the hay. Now it's at the ugly stage where it's easy to get discouraged and go do something else. More progress in the next post.

Monday, February 6, 2012

DIY - Easy garden seat/kneeler

Every year the Vesey's seed catalog has these dream items in their back pages, (as in "Look at that price! Dream on!")
And every year my knees and hips get a year creakier and this bench looks more and more appealing, especially the kneeling side with those 2 legs to use to push oneself back upright.
So with recycling close to my heart, I had an idea to make such a bench with that great $4.00 piece of 3/4" plywood I picked up at the Re-Store, just in case I might need it someday.
Here's my version , yet to be painted or stained. The dimensions are basically the same as the $55. model, but it weighs less, 6 3/4 lbs. I'm glad to say my behind is not 24" wide but I guess the seat has to be that wide so that when using the kneeling side, the uprights don't get in the way of working arms. The ends are 3/4 " plywood, the seat is a 5/8" plywood scrap rabbeted into the ends . The purple pads are those dollar store children's foam mats that fit together in squares. They are held on with elastic til I find some big rubber bands.

Underneath I used L brackets to stabilise and strengthen the glued joints. Next trip to the dollar store I think I'll add another layer of foam padding to the knee side of this creation.
A fun and satisfying day in out of the cold, tinkering in the workshop with a pot of tea on the woodstove. And one more thing crossed off the summer to-do list.